I will now give you a description of how I like to carve Blythe faces 🙂
Materials:
Magic sponge and hand sanitizer.
Set of different diamond files
Carving knife from Cool Cat
Wet or dry sandpaper p800 and p1200 from 3M
Dremel, but this is optional 😉
A Blythe face 😛

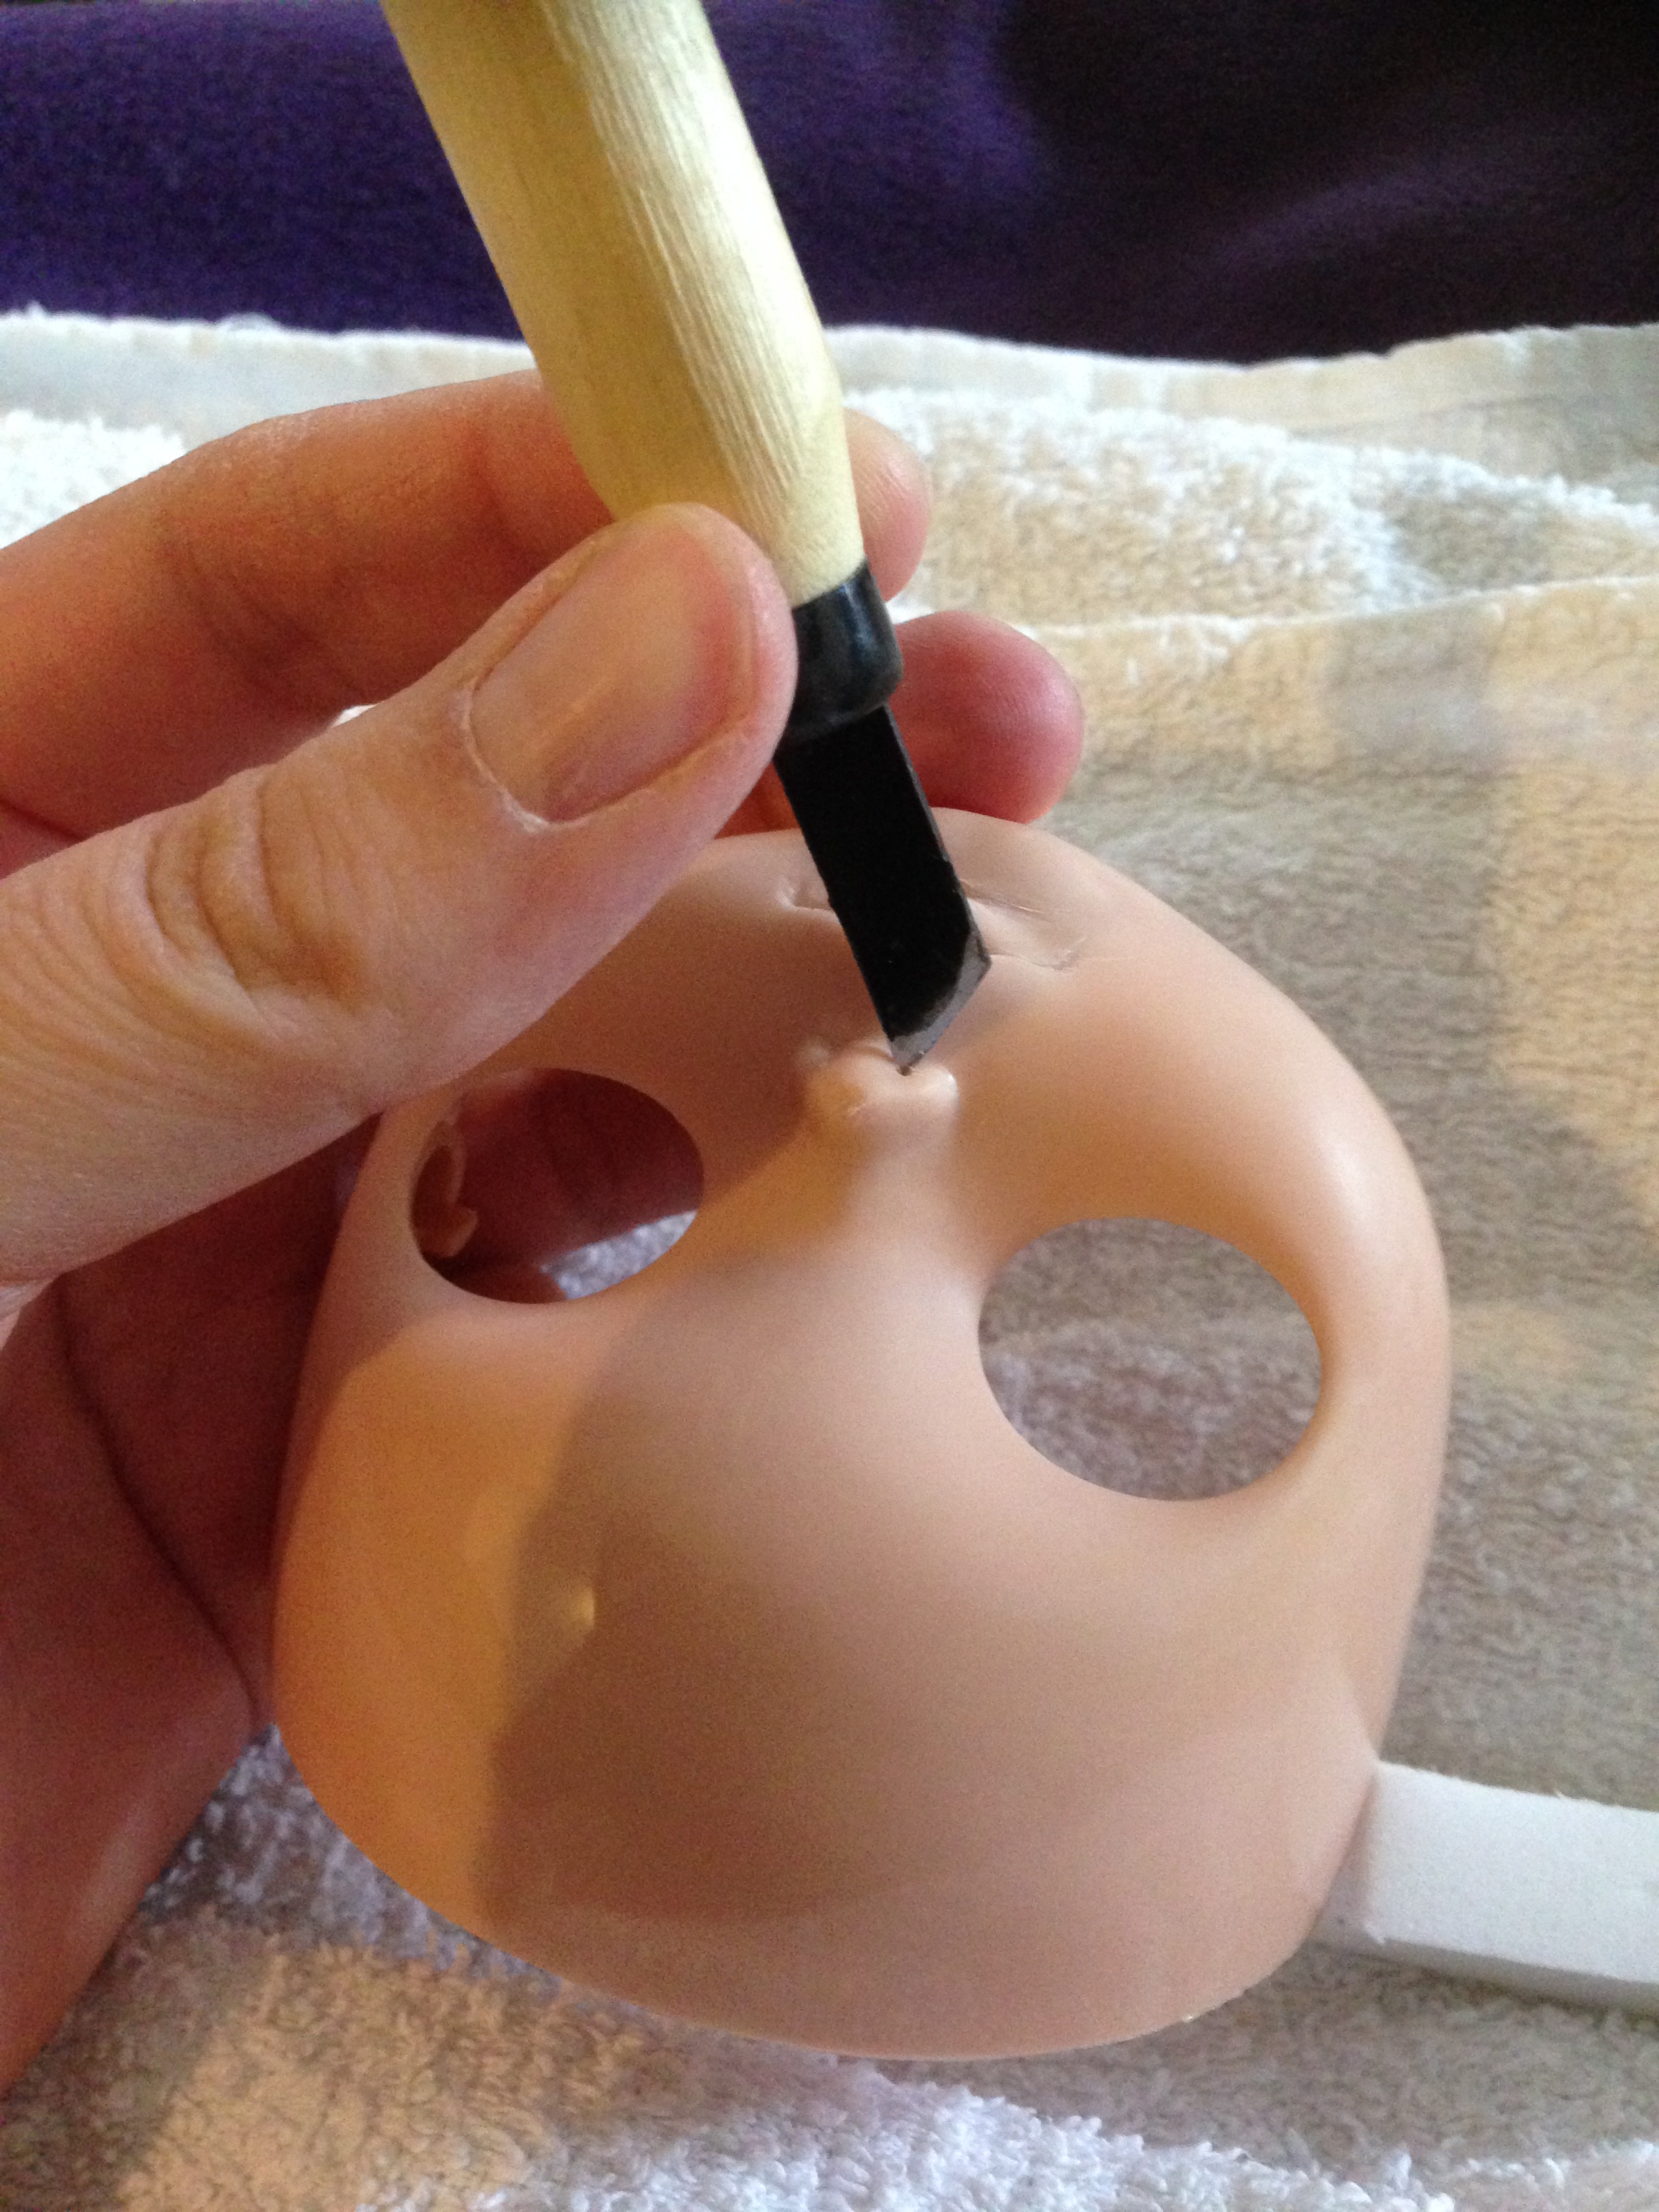
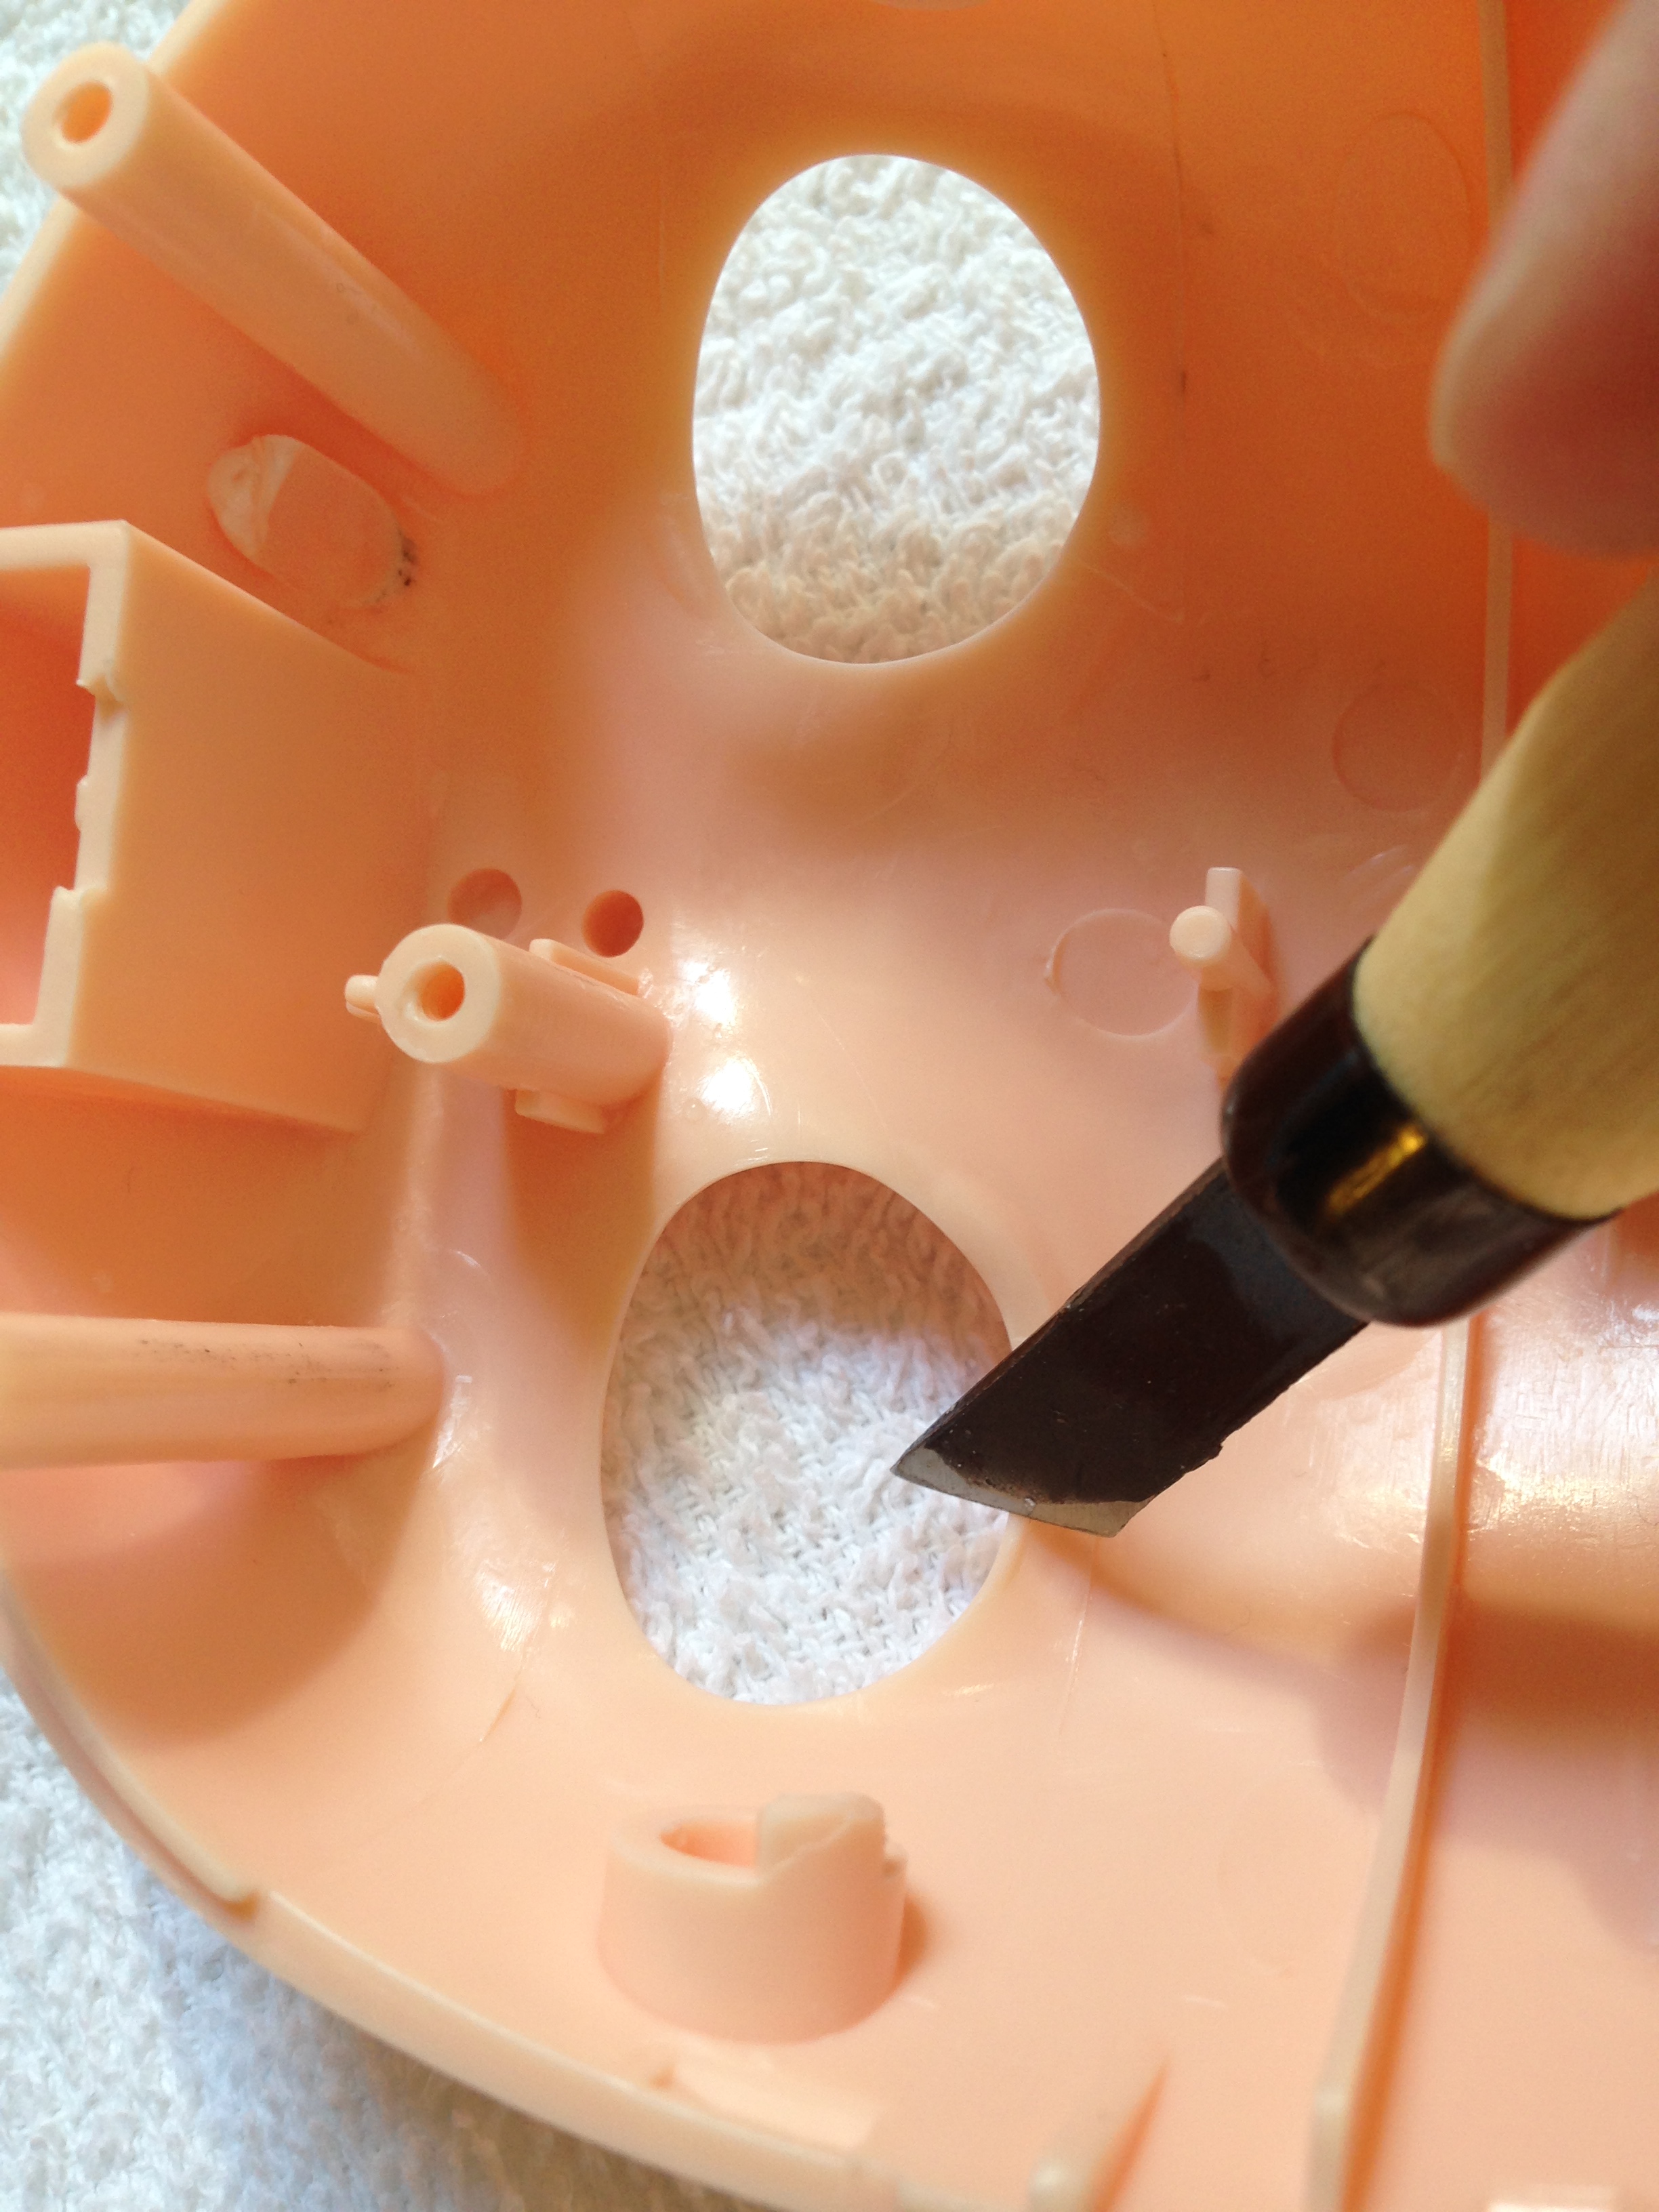
First I use my carving knife to carve the basic shape between the lips. So I will carve a deeper line in whatever shape I have chosen. It can help to look at a pictures of Blythes who has a similar shape to what you are after. I also now carve in to the side of the mouth to raise a smile or maybe a pouty look. I really love pouty looking Blythes ;). I use a smaller cut off piece of the sponge with some hand sanitizer on to wipe off bits of plastic so I can see what I’m doing. Also you don’t want to blow the plastic dust into the air, not good to breath in. It’s a good idea to use a suitable mask to avoid this, especially if you are dry sanding (I can recommend this thread for advice on respiratory protection: http://forums.dollymarket.net/showthread.php?tid=7255881).
I will use the knife at different angles to carve in different places, you can just try and see what feel best for you. But I will show some pics of the angles I often use.

Here I twist my wrist so I follow the shape downward to get that line underneath the mouth that I like.

I usually use the tip to work on the line between the lips to get it deeper. Just remember to be careful if your Blythe is a RBL+ model as they have much thinner plastic and you don’t want to go through the plastic. I hold the faceplate up to the light to check, it’s easy to see then if you have some very light areas.
I use the tip of the knife and swirl the very point in a sirkular movement to carve nostrils. I use the tip to get small nostrils. A wider angle will give wider nostrils.
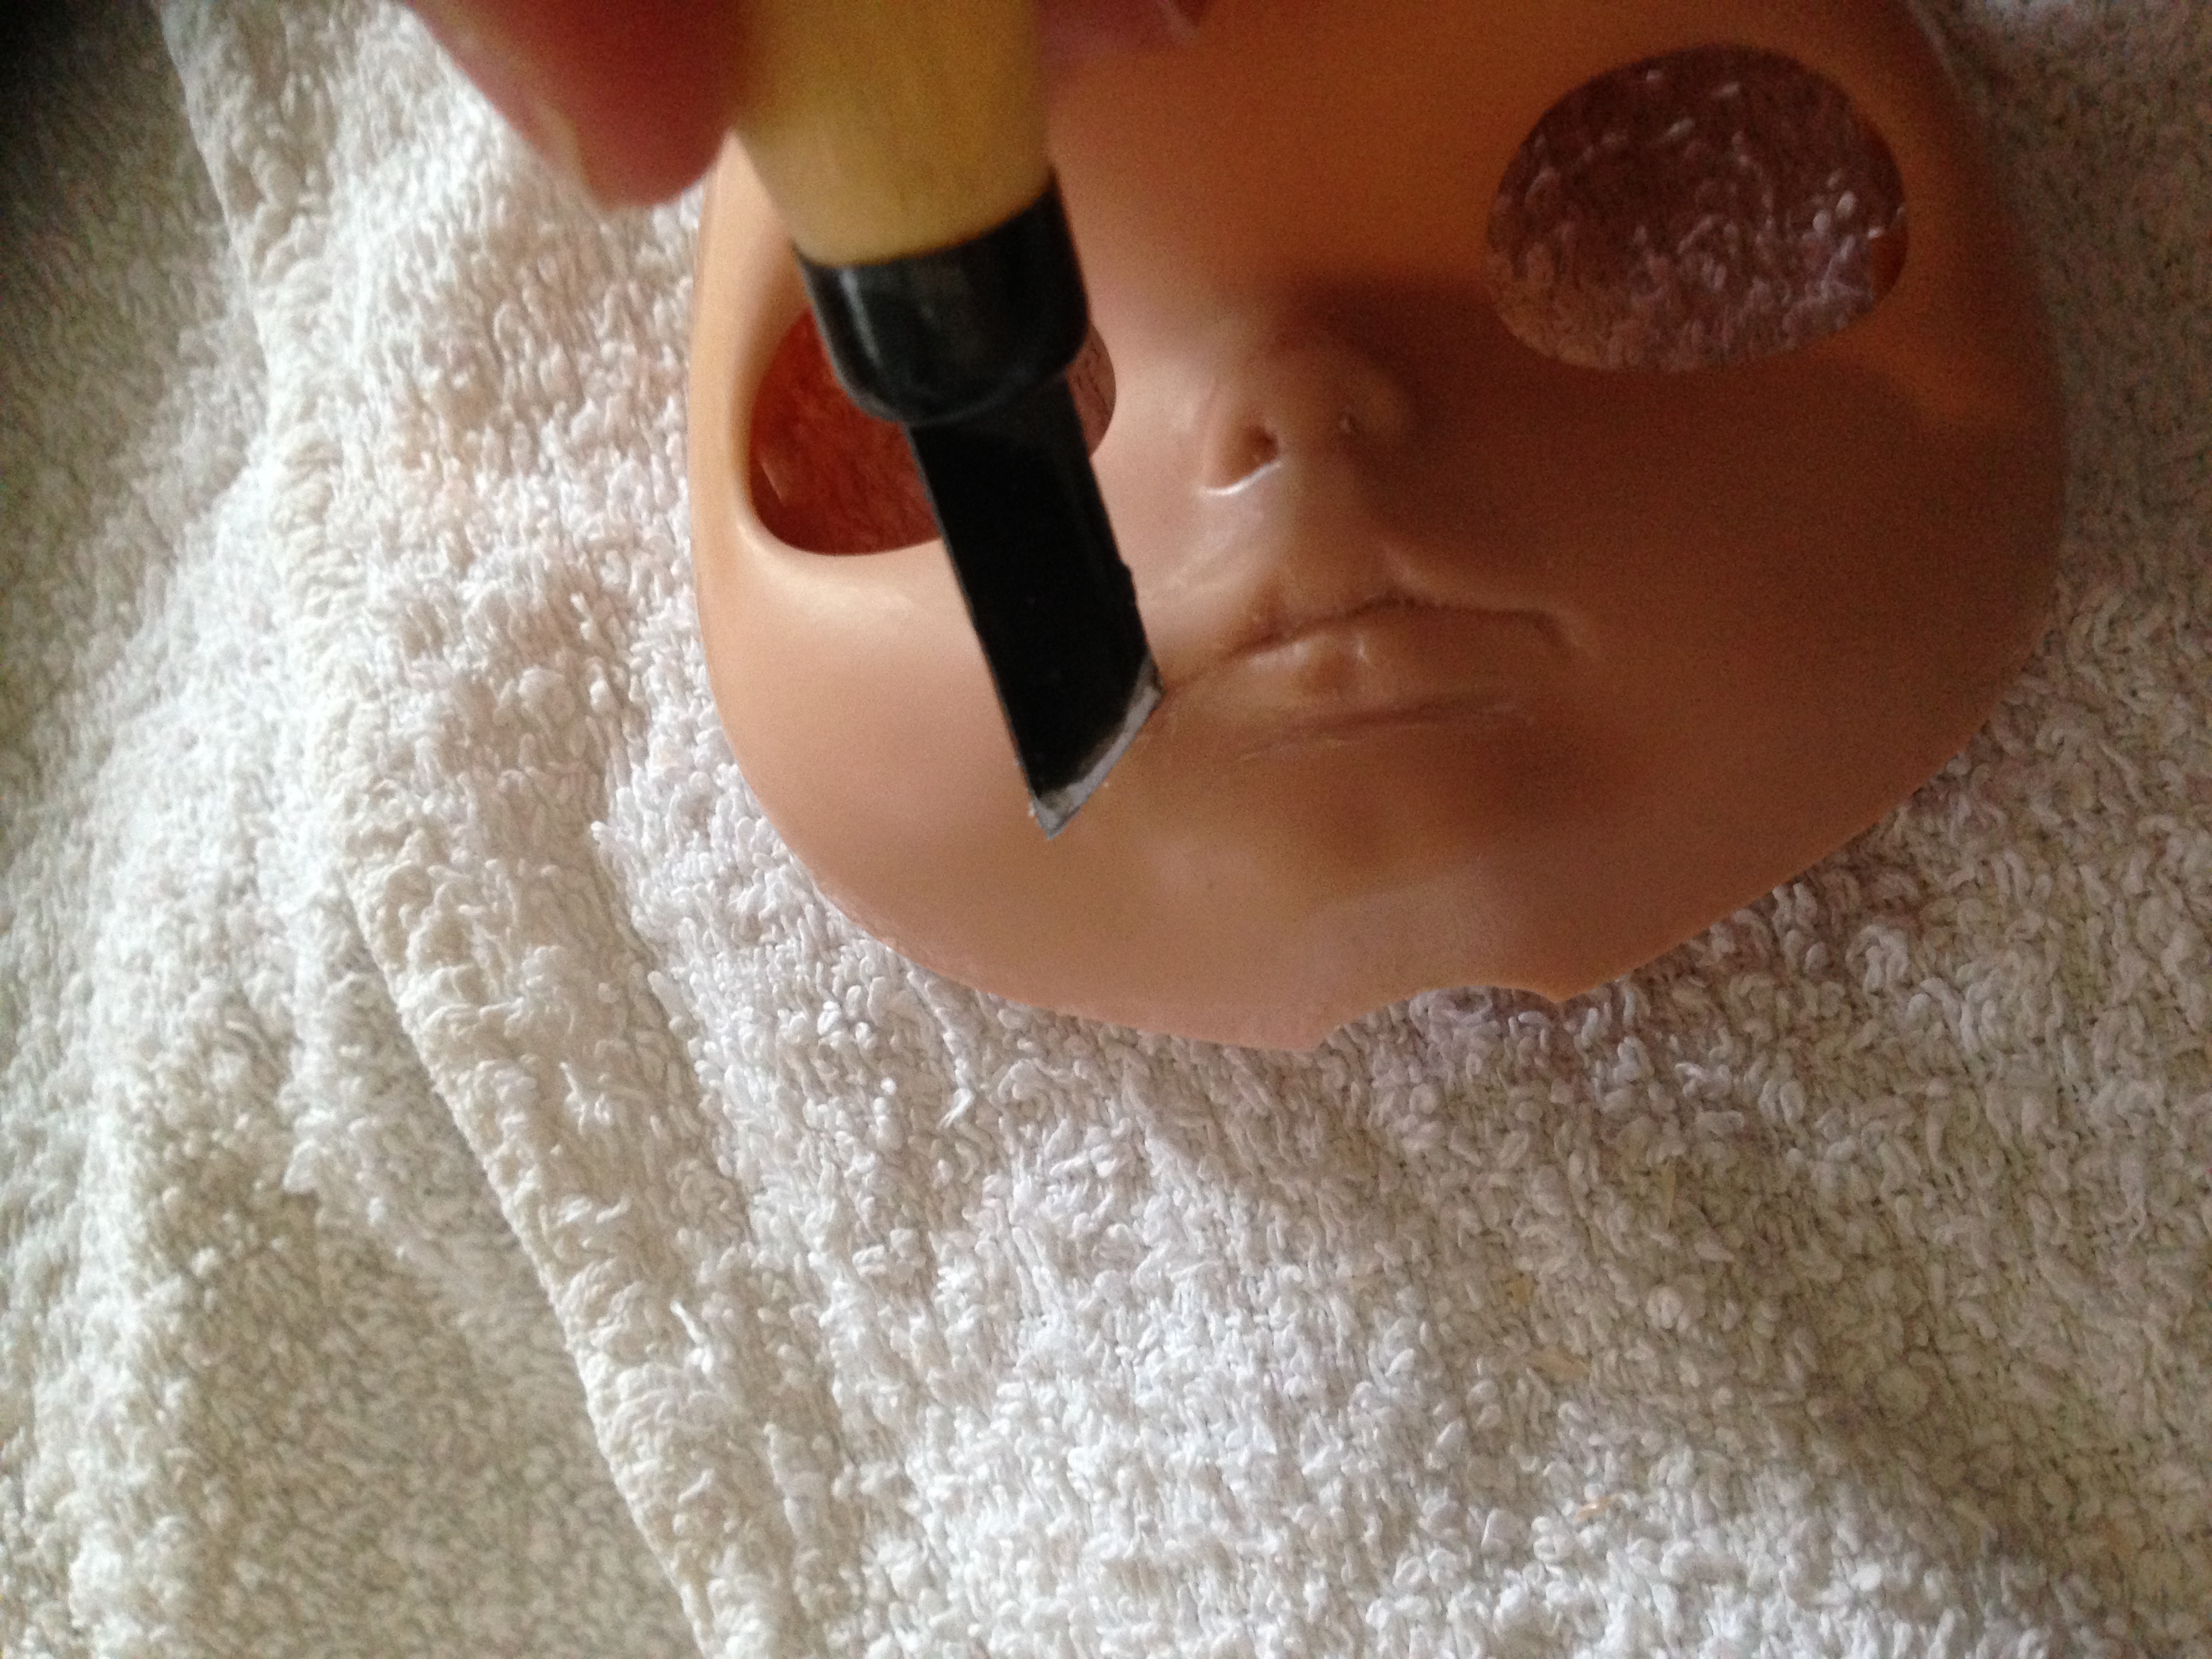
I use this side of the knife to dig out the angle of the mouth. Carefully so I don’t make uneccessary scratches in the area around.

After I am happy with the general shape of the mouth and nose I will use different diamond files to work on different areas. I use the ball shaped ones to work on the philtrum and use sirklular movements over the mouth and nose. I also like the ball shaped files for making the lips a bit bigger sometimes, by shaping the lip upwards. I use pointed ones to get inside the nostrils, under the mouth and between the lips.

And I use a small ball shaped one in the nostrils ^-^.
Once I have evened out the bigger scratches and bumps with the files I will first use the p800 sandpaper to smooth out most of the scratches left. For a super smooth finish and removing any small scratches left, I use the p1200 sandpaper. I keep a bowl with water near and regularly dip the paper in to keep it wet. Doing it wet will avoid platic dust in the air and will give a smoother finish. I always use sirkular movements even with very fine sandpaper like this to make sure it will end up smooth. Just do this until you are happy :). I check in good light to see if any scratches are left. I also sand the backplate and eyelids in preparation for the next step.
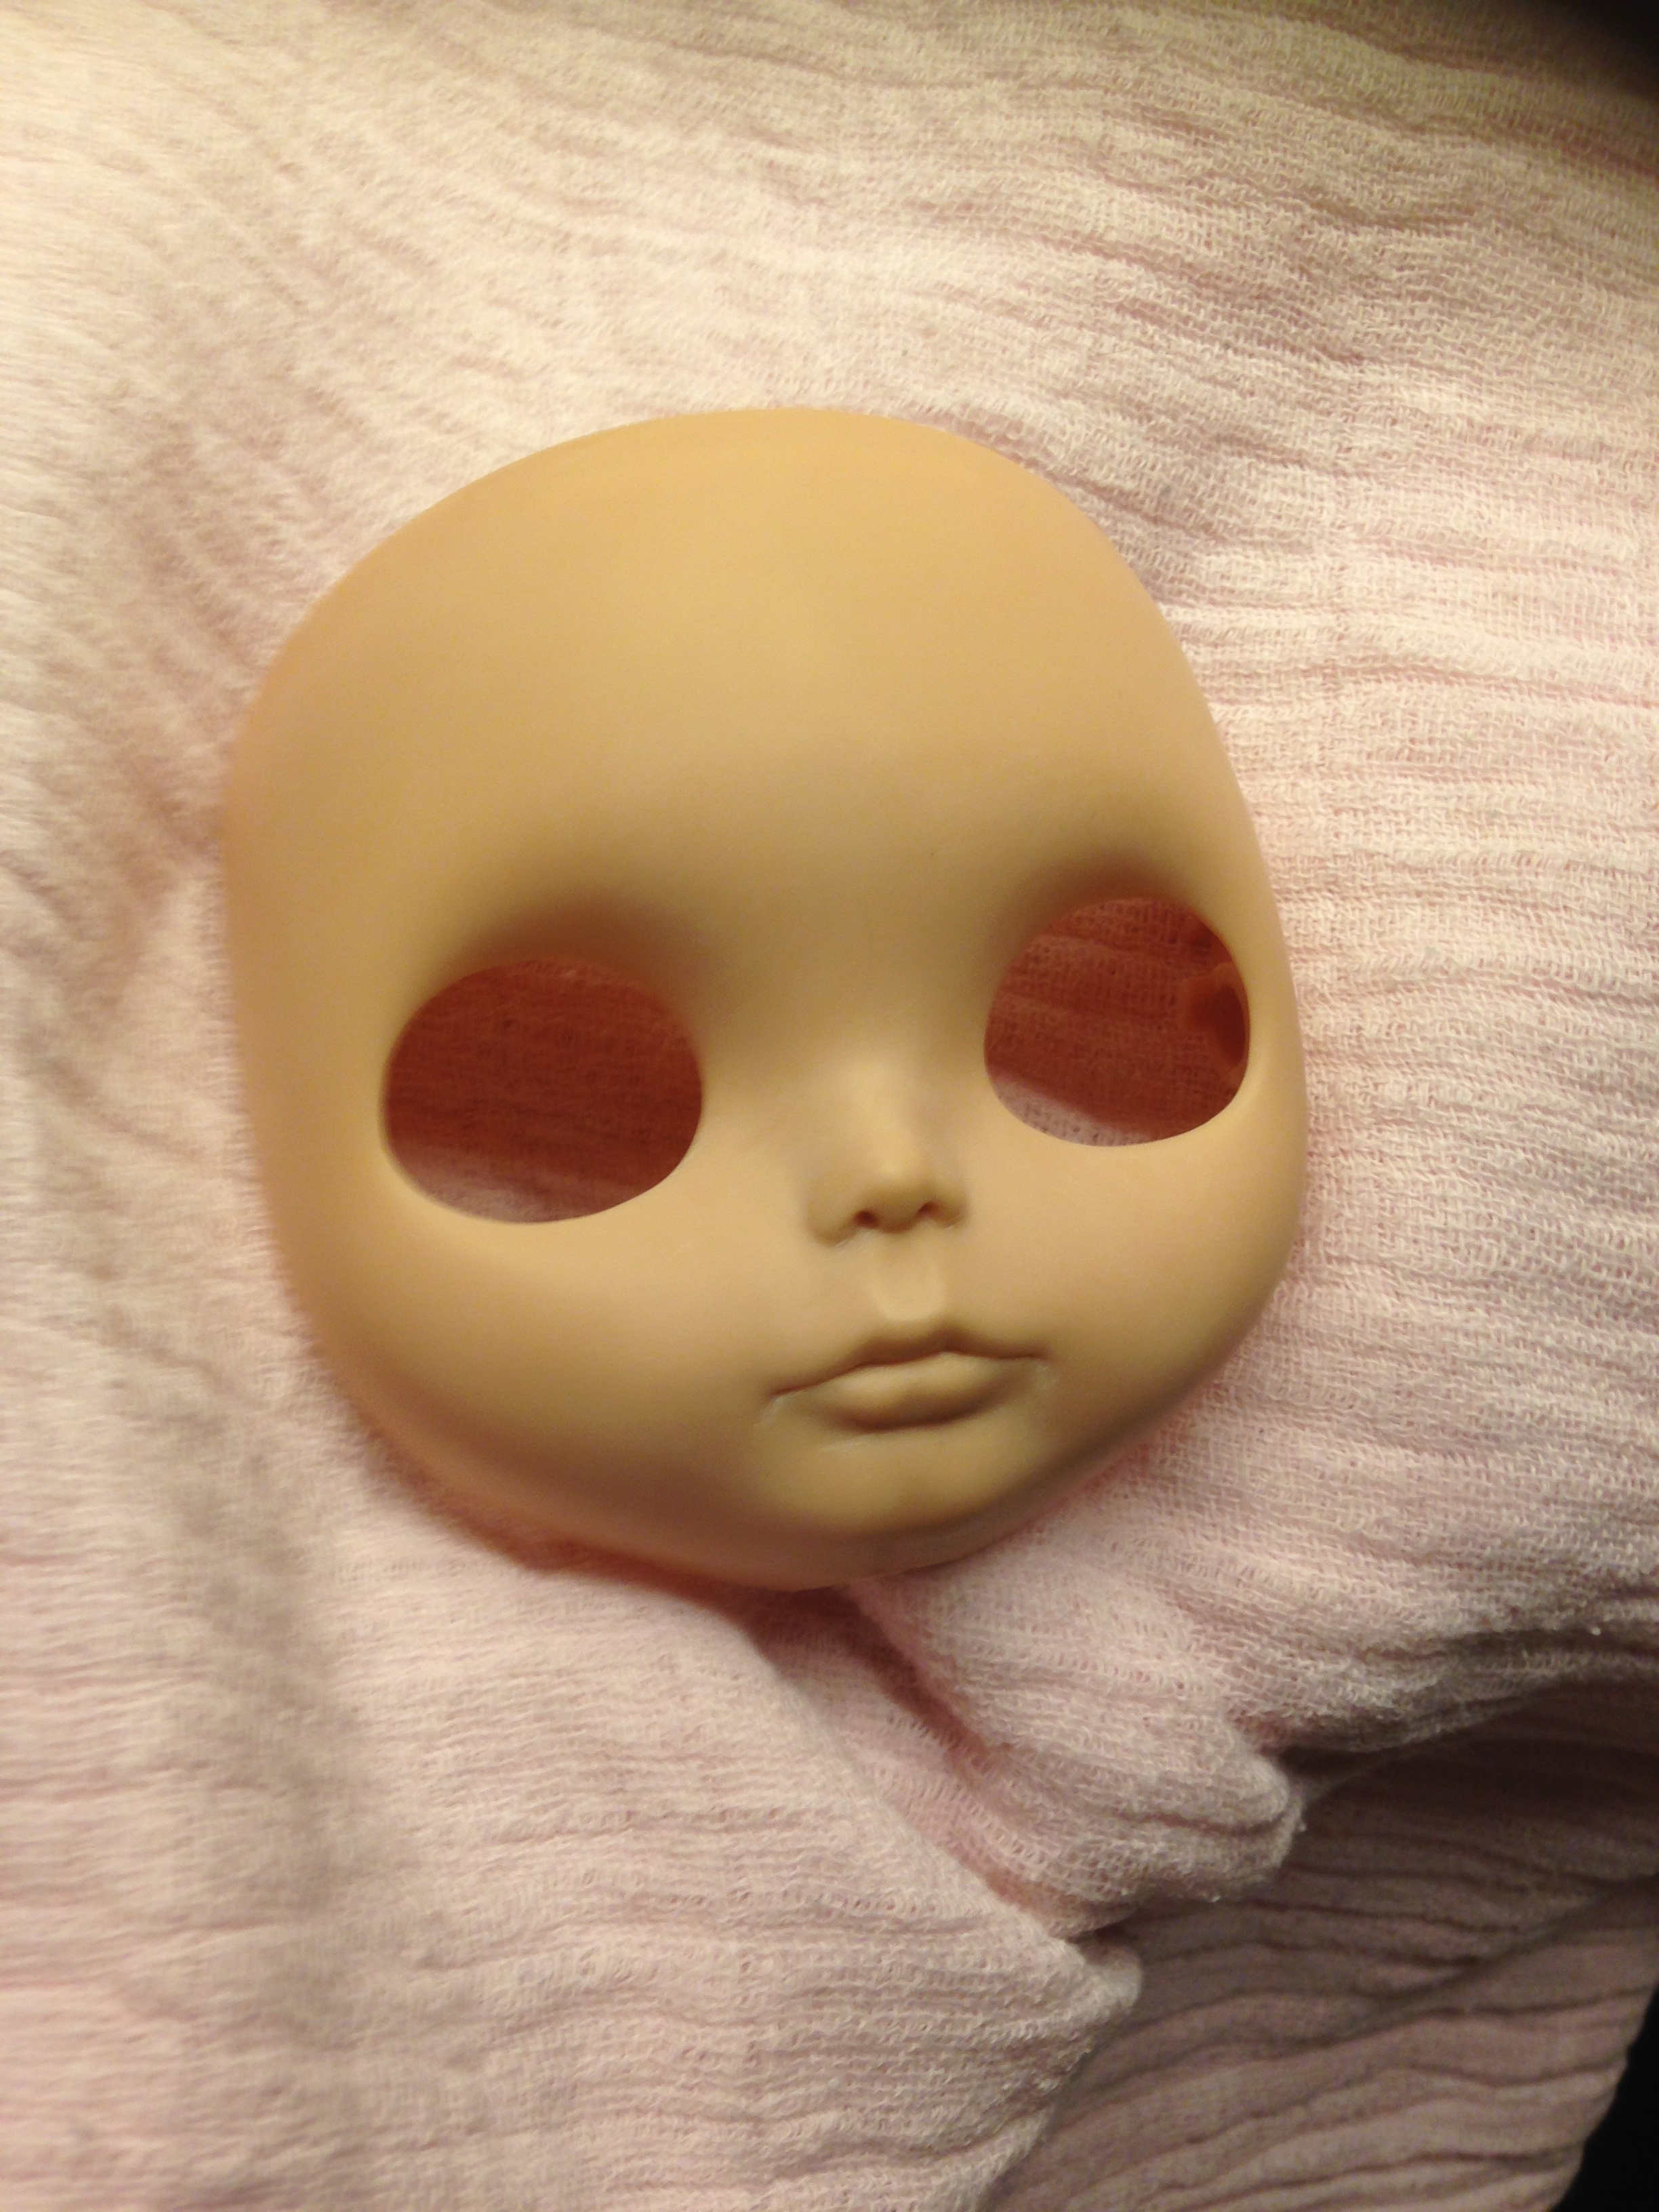
Here she is now :). I will still check again in the brighter daylight tomorrow to be sure she is really done ;).
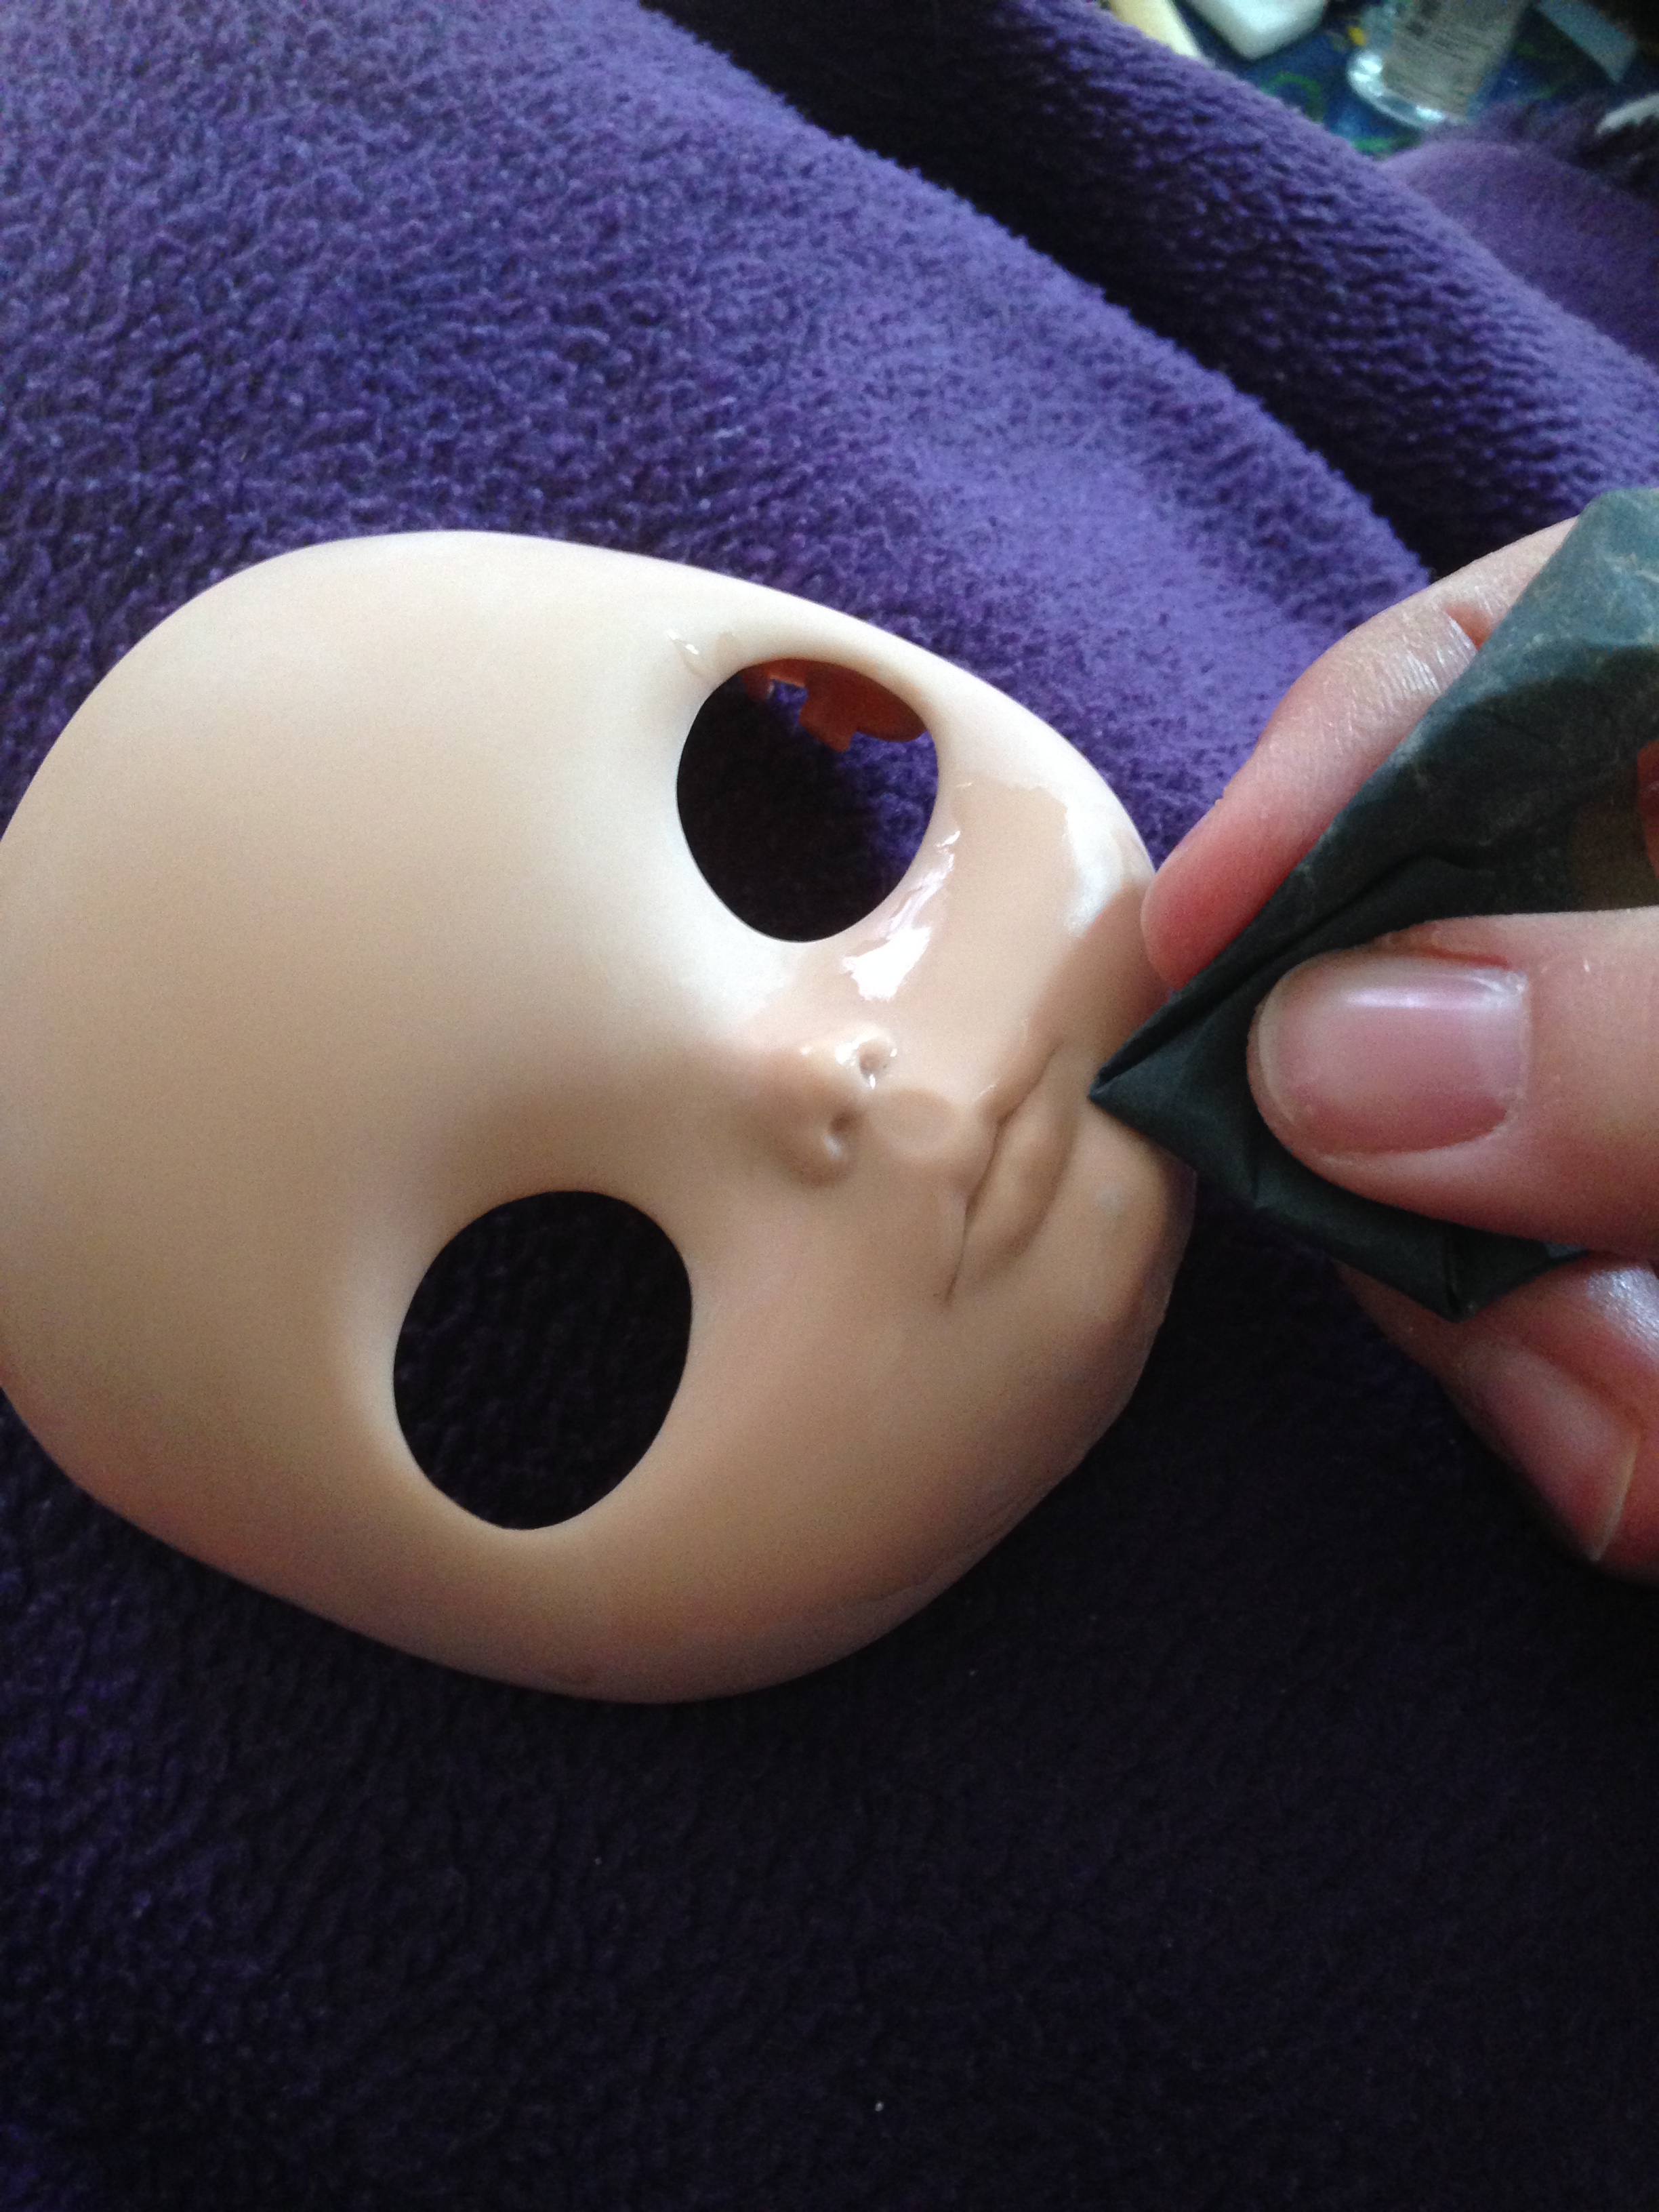
Also before doing any faceup work I will sort out the eyelids so they don’t show when the eyes are open and scrape off a layer of plastic at the top of the eye hole to allow space for paint or decoupage (for those who would like to do that) on the eyelid. I already have a tutorial on flickr regarding opening a RBL, boggling, sleep eyes, and eyechip removal. I will post it here on the blog at some point :). But you can find it in my flickr albums.
This is a pic I have taken previously :). Just scrape off some plastic carefully and wet sand it after. I also pop the eyelids back in to check if I have made enough space. You really don’t want to end up scraping off the eyelid paint you have been working hard on.

If there are any more questions I am happy to help. I might have forgotten something as well ;).
Edit: Since making this tutorial I have begun to use a dremel. But I basically do the same as I did before, only with the diamond files attached to the dremel, and faster than I could do manually. It’s best to wait with the dremel until you feel quite confident carving manually. You can slip easily and make big damages quickly. So you need to have steady hands, be awake and focused to use one. Also always use a protection mask when using a dremel as the plastic dust flies around everywhere, and you can easily breathe it in. One of the girls I did mostly using a dremel:

Thank you for reading. Hugs to everyone :D.

thanks for making time to blog this, I guess I best get some ball end files now then. ?)
allycats
LikeLike
I’m happy to help :). Good luck with your project. This set was fairly cheap at a local hardware store 😊
LikeLike
You make it seem so easy. Thanks for sharing your knowledge, your tutorials are always really helpful. 🙂
LikeLike
Hi there,
May I kindly ask how much you sand away from the upper eyehole? 1mm or 2mm? I just finished a whole faceup… only to realize that I haven’t done this safety measure. Doh!
LikeLike
Oh… sorry, I forgot to ask one more thing. By “upper eyehole” did you mean just the topmost edge or the upper sides of the hole as well? Any help would be greatly appreciated.
LikeLike
It’s a annoying thing to forget, I forgot on my first try ;). At least 1 mm, but you just have to consider how thick the layer on the eyelids is and adjust according to that. It can depend on how much paint you put on them, and it will be thicker if you decoupage or glue fabric on like some do. Sorry I can’t be more specific, I just take a bit at a time and pop the eyelids back in to check how much space I have got, and if it’s even. You will need to sand off a bit on the sides as well, wherever the eyelids will touch on the way down.
LikeLike
Thanks for taking the time to reply 😀 I’m feeling very hesitant about the checking process. It was so hard to get the eyemech out of her face in the first place, that I’m not sure how I’ll pop them in and out to keep checking lol. Do you have tips for the popping in and out? I always think I’ll either crack the face with the force of exertion… or I’ll cause the paint to crack. You make things look too easy 😀
I have it in my head that I’ll only need to put her back together once… and that’s it. But somehow, I have a feeling this will not be the case.
LikeLike
No problem :). I do it to just the eyelids. The whole eyemec is a pain to take out, but when it’s only the eyelids it is very easy to take them in and out :). To get them back out gently pull the right side of the faceplate (it won’t crack the faceup when pulled just a little 😉), and grab the bottom arch of the eyelid as close as possible to where it meets the faceplate, and pull the opposite direction. It all seems daunting in the beginning, but it does get easier 😉. And you don’t need to use lots of force, do stuff slow and steady :).
LikeLike
Thanks again for the wonderful advice. I appreciate it a lot since the Blythe forums are really quiet these days 😦
Have a nice day!
LikeLiked by 1 person
I am happy to help :). Nowadays I only stop by the marketplace at BK. But if you are on Facebook there is a group called Blythe Customization that is pretty active. Most of the Blythe community have moved over to different FB groups I think :).
LikeLike
I just wanted to say that your advice was very useful. I finished my custom and am happy with her. I followed what you suggested and things worked out great. Thanks a bunch 🙂
LikeLike
Yey, I’m so glad it was helpful :D. Congrats on finishing your custom!
LikeLike
Hi Bee!
May I ask you a question about eyelashes? I asked this question on BK and no one replied, so I thought perhaps you might be able to help me? 🙂 I used coolcat lashes on my Blythe custom, but I have noticed customizers spending $$$$ on things like branded lashes that cost 20-30 USD. I’m wondering if there’s a reason why people use expensive ones as opposed to the cheap ones like coolcat? Are coolcat lashes terrible and coarse? Do they disintegrate or get sticky with time? Are they cheap plastic that rots?
Have a nice day,
Ian
LikeLike
Hi Ian ^_^
I don’t understand why some people would spend that much on eyelashes ;). I guess they prefer the look of those specific ones, and some people love stuff based on fancy brand names. I admit I love to buy fancy clothes for my Blythes ;). So some branded things I like. But there is nothing wrong with coolcat lashes. Easy to put in, cheap and cheerful, a bunch of different types, and the ones I have on dolls are still going strong. For a different look than what coolcat ones can offer, I just buy cheap eyelashes on ebay meant for humans. A tad harder to put in because they are more flexible, but I just put a bit of glue on the sticky bit and they go in ok :).
Have a nice weekend 😀
LikeLike
Thanks for replying, Bee :-)! It’s really great to be able to get an answer from someone who actually does a lot of customs. I really appreciate the response, and it was helpful to know. Have a lovely day!
LikeLike
Happy to help :). Sorry I haven’t updated my blog in forever, I have been busy with school. Can’t wait to be done so I have more time for my dolls ;). Xx
LikeLike
how did you remove all of her makeup? btw, nice article. very motivating! i’m so scared to customise my Blythe but i really want to do it.
also, do you have an entry about face painting your blythe. that would be a great read. have a nice day!
LikeLike
Thank you :). I used fine grit sandpaper p1200. I prefer 3M Wetordry, but I know many people prefer the 3M sponges.
I have had a plan to post a faceup tutorial for a while. But I have been a full time student so I haven’t had the time for much Blythe related the last year ;). The blog has suffered the most. I have finished my studies so I should have more time soon :).
It’s a little scary to begin with, but it’s very fun and rewarding ^_^.
LikeLike
Hello from Belgium,
i have made a little hole in the philtrul. Is it possible to repair it ?
thanks for help
martine
LikeLike
Beautifully detail tutorial thank u..Where can I buy the ball files from..much appreciated 😘
LikeLike
It’s circular.
LikeLike